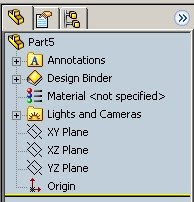
Start a new part and rename your planes to something that has meaning for you. (XY Plane, XZ Plane, YZ Plane).

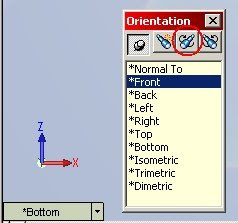
Next, click the bottom view from the Standard Views toolbar.

Hit the spacebar to bring up the Orientation box. Single Click *Front (the view should not change) and then click the Update Standard Views (the middle button) of the Orientation box.

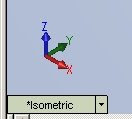
If you now view an isometric view you will see the Z pointing toward the top of the screen and Y points into the screen.

To save this as your template go to File/Save As move to the templates directory and rename the file. In the Save As Type box select Part Templates (*.prtdot). You can now use that template to create new parts in the Z-up orientation. This process can also be used to create templates for other orientations as you need them.


3 comments:
That's a welcome usefull tip. I only have another question now. If i sketch in the YZ plane now, the add relation command works funny. the horizontal add relation command makes a sketched line show vertical. For the vertical add relation it shows a horizontal line. Any idea how this can be corrected/changed?
Excellent Post Sir many thanks!
Ben Collins
I've been using Google Sketchup Pro for just over a year and I think I'm ready to move onto a better, more professional software. What do you recommend?.
Solidworks
Post a Comment