I was reading the SolidWorks forums when I came across a question embedded in another question about setting the coordinate system so that the Z axis points up instead of in and out of the screen/paper. "Why does anybody care?" you ask. Well, not all 3D programs use the same coordinate system as SolidWorks and machinists don't use the same coordinate system. To make a model in the same orientation as another program or to orient it in a manner that will be more understandable to your audience, you need to change the coordinate system of the drawing. You can then save the system as a part template for future use. Here's how:
Start a new part and rename your planes to something that has meaning for you. (XY Plane, XZ Plane, YZ Plane).
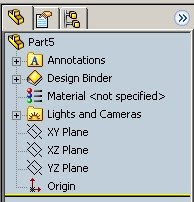
Next, click the bottom view from the Standard Views toolbar.

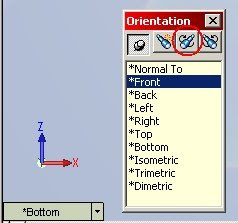
Hit the spacebar to bring up the Orientation box. Single Click *Front (the view should not change) and then click the Update Standard Views (the middle button) of the Orientation box.
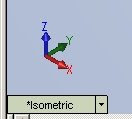
If you now view an isometric view you will see the Z pointing toward the top of the screen and Y points into the screen.
To save this as your template go to File/Save As move to the templates directory and rename the file. In the Save As Type box select Part Templates (*.prtdot). You can now use that template to create new parts in the Z-up orientation. This process can also be used to create templates for other orientations as you need them.


 Posts
Posts


